Receiving Emails at Custom Domain Addresses Using Mailgun
December 30, 2016
Whether you already own or are looking at purchasing a custom domain, (i.e. bpwalters.com), you might like to know that you can set up any number of customized domain email addresses for free! In this guide, I'll walk you through the process in just a few minutes using Mailgun.
Setting Up Your Mailgun Account
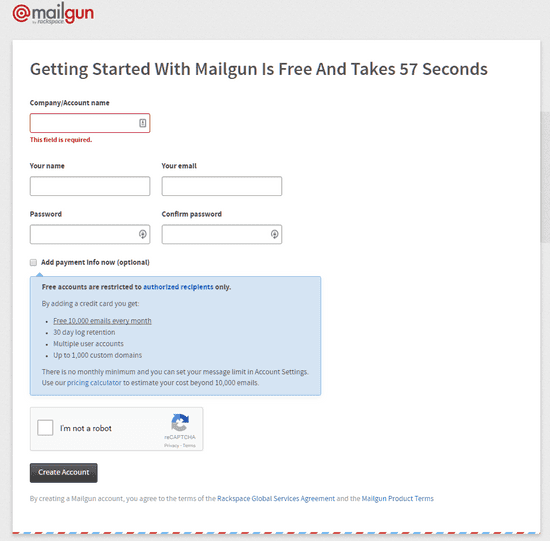
The first thing you'll want to do is sign up for a free Mailgun account here.
NOTE: You can leave the "Add payment info now" box unchecked - Mailgun lets you send/recieve up to 10,000 emails per month with their free accounts.
Once you've completed the sign up process, you'll receive a confirmation email. Follow the link in the email, and that's it! You're all set up and configured to start using Mailgun. Now we'll add the link to your custom domain.
Linking Mailgun to Your Custom Domain
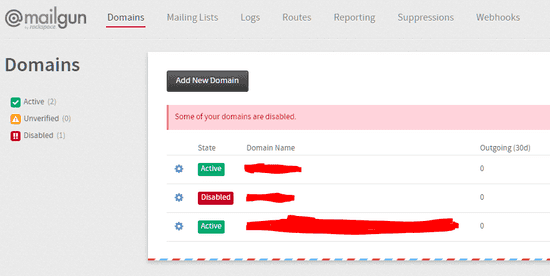
First, we'll need to add a new domain in Mailgun. To do this, go to the "Domains" section of your Mailgun account:
Click "Add Domain" and enter the name of your domain (i.e. "bpwalters.com").
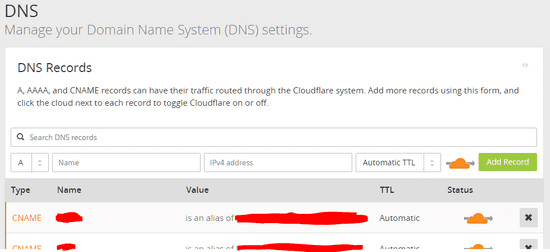
Next we'll need to modify our DNS records for our domain name. Go ahead and log into your domain provider (in my case, Cloudflare.com) in a separate window/tab and navigate to the screen to modify your domain's DNS entries:
Following the guide on Mailgun, enter the appropriate TXT, CNAME, and MX records to allow Mailgun to utilize your domain name.
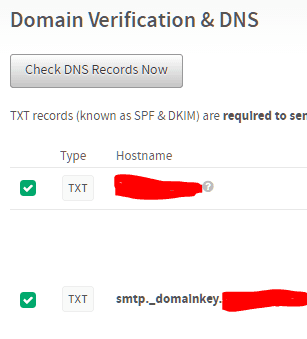
NOTE: Once you've added the aforementioned DNS entries, there may be delay before Mailgun can verify the changes have been made. In my case, the changes were verified within an hour of being updated.
Once your settings are verified by Mailgun (this can be manually checked by clicking "Check DNS Records Now" under "Domain Verification & DNS" on the domain's settings screen), you're ready to roll!
Forwarding to A Separate Email Account
In my case, I want emails sent to my domain's email address(es) to be forwarded to my main Gmail account. Setting this up yourself is remarkably easy.
Simply navigate to the "Routes" section of Mailgun, click "Create Route", and use the following settings:
- Expression Type: Match Recipient
- Recipient: (your custom domain address here - I used [email protected])
- Actions: Check "Forward" and enter the address(es) of your Gmail/other accounts to forward to
- Priority: 1
- Description: (optional)
Then click the "Create Route" button. You should see the new route populated in the "Routes" table. You can test that it's working by sending an email to the address you specified under "Recipient". You should receive the email at your defined "Forward" address(es)!
NOTE: Sending the email from the same account that is to be forwarded to didn't seem to work for me (i.e. [email protected] -> [email protected]), so be sure to use separate accounts when testing.
If you encounter any issues, try adding the defined "Forward" email address (i.e. the Gmail/other account) as an "Authorized Recipient" in Mailgun. This can be done from the main dashboard - just click the "Authorized Recipients" button towards the bottom of the page, and enter the address of the email account you'd like to authorize. You'll receive an email to confirm you have access to the account, and wish to start receiving emails from Mailgun.
And that's it! You are now configured to receive emails using your custom domain name! If you'd like to add additional domain name emails, you can always define more "Routes" using the same process as above.


