Raspberry Pi-Powered Internet Cat Feeder
December 9, 2016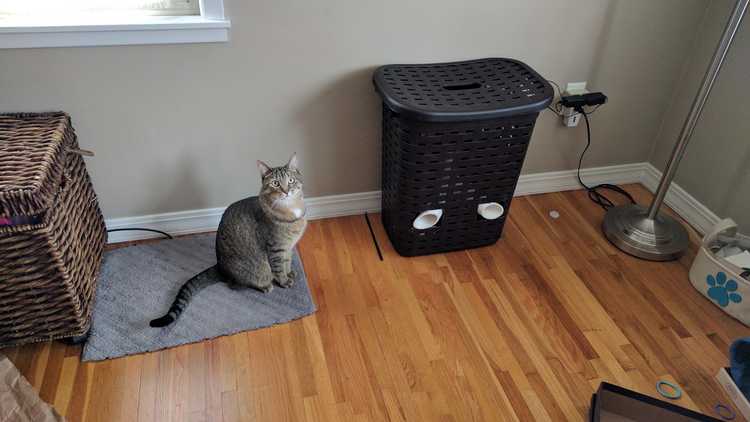
A few months ago, I came across a blog post from David Bryan on building a Raspberry Pi-powered Cat Feeder. He does a great job highlighting the supplies, tools, and technical expertise needed for the project so I thought I'd give it a try myself.
In looking over his plans, I decided there were a few additional features I'd add:
- Remotely operatable - I wanted to be able to activate the feeder, on command, while away from my home network
- Customizable schedule - The ability to set a few planned meals in advance would be great if my girlfriend and were planning a day trip out of town
- Camera integration - After all, if I was going to be operating the feeder remotely, I'd need some confirmation that the food actually dispensed
- Custom enclosure - Our younger cat has a reputation for being a bit of an ass, so some sort of case/container would be absolutely necessary to keep him from tipping it all over
Parts List
The list of the parts I used loosely followed David's original documentation, but for reference here's a general list of the supplies I used:
- Zevro Compact Dry Food Dispenser
- Raspberry Pi V2 Camera Module
- Adafruit 24" Flex Cable for Raspberry Pi Camera Module
- Adafruit Breadboard Power Supply Kit
- Adafruit 1/4 Perma-Proto Breadboard
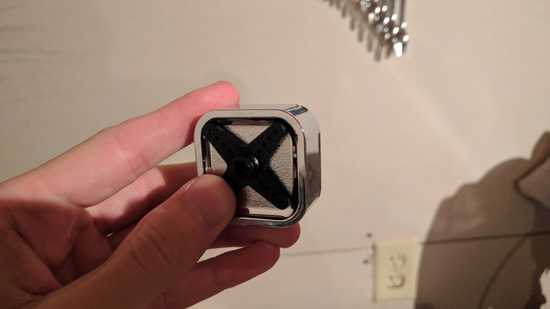
- FeeTech Continuous Rotation Servo
Putting It All Together (Part I): Getting The Servo Mounted
Since the cereal dispenser David utilized was no longer available, I decided to go with the aforementioned Zevro dispenser instead. The main reasons I chose this dispenser were the large reservoir, flexible silicone paddles, and plastic construction. The use of flexible paddles on the dispenser wheel meant there was little chance for food to get jammed, while the plastic construction meant it would be easy to modify to suit my needs.
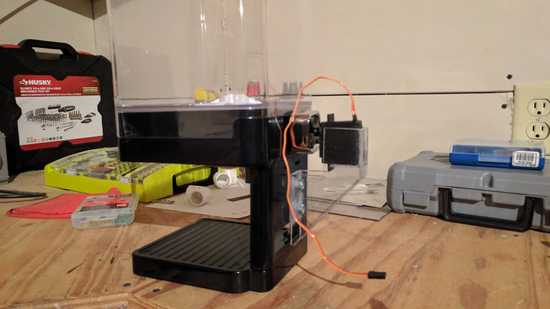
When the dispenser arrived from Amazon, I immediately noticed a problem: the dispenser handle was mounted on the front - not ideal, and it meant there wasn't anywhere to mount the servo. I ended up modifying the dispenser and flipped the reservoir top 180 degrees. This required removing a few screws and minimal modification (a Dremel is a lifesaver here).
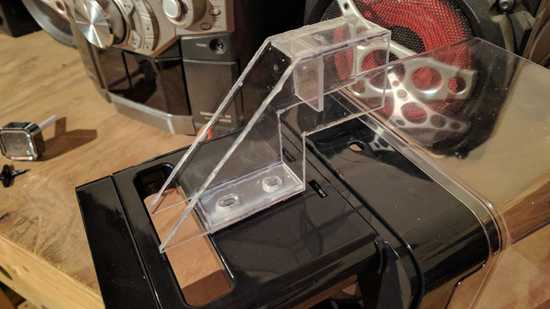
Once I had relocated the handle, I used some extra perspex plastic I had laying around from my obdPi project to build a mount for the servo. It would need to support the servo vertically, but also provide enough horizontal force to keep the motor from falling out of the arm.
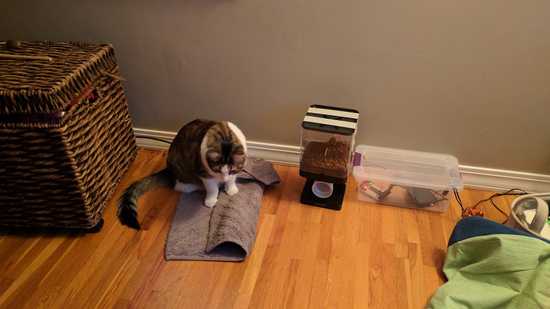
With that done, I got initial impressions from the primary stakeholders:
The excitement was palpable. Anyways, see the masking tape holding the lid onto the reservoir? Yeah that became immediately necessary after the younger one discovered how top heavy the dispenser was. A rethink was in order...
Putting It All Together (Part II): The Hamper
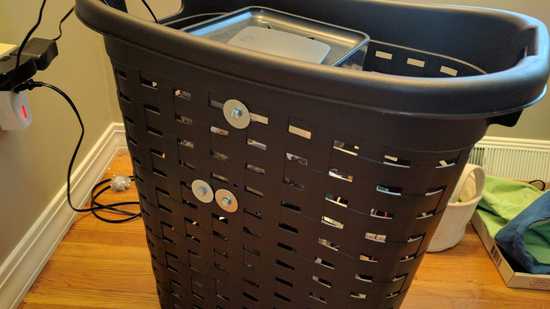
After a few beers and a stroll down the storage container aisle at Target, I came across a nice looking plastic clothes hamper on sale. With it's mesh design (perfect for mounting the dispenser) and fancy looks, I figured it would be as good a place as any to start.
A few bolts were used to hold the dispenser in place:
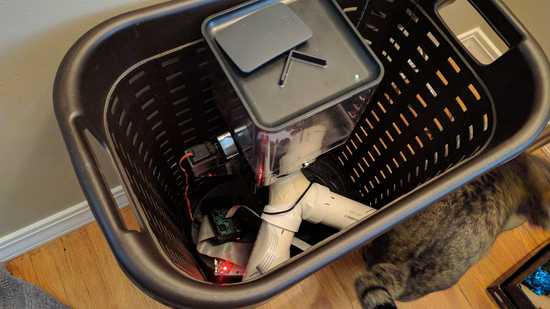
And some strategically positioned PVC would handle the duty of catching, dispensing, and dividing the food into two neat piles:
This design got a more enthusiastic response...
...but wasn't without its flaws.
The food would dispense just fine, but the sharp edges of the PVC joining together was catching a large amounts of food. The cats remedied this issue by discovering they could fit nearly their entire arms up the pipes to grab the trapped food, but I knew the design would need yet another rethink.
Putting It All Together (Part III): Break Out the Power Tools
After several days of strong contemplation and many more beers, I decided it would be most effective to build an entirely custom enclosure for the reservoir.
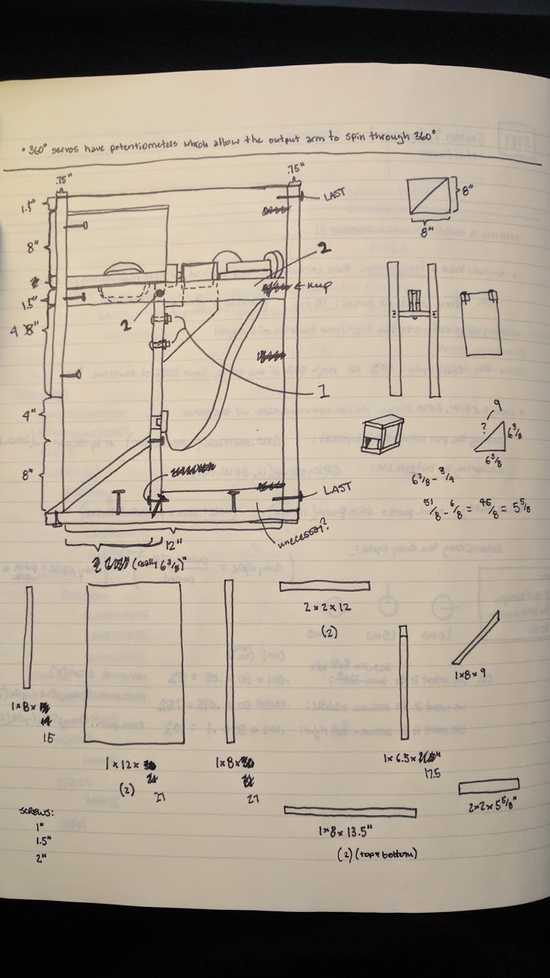
With temperatures here in the Midwest rapidly approaching freezing, I quickly drew up the plans and got to work!
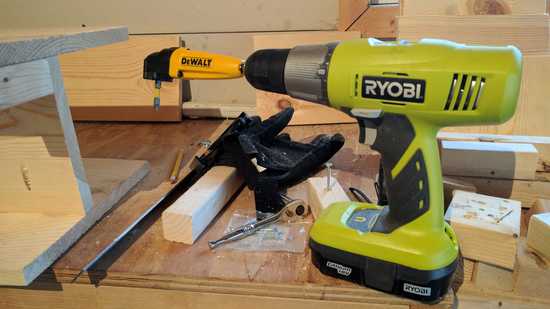
Several trips to Home Depot later for tools I didn't know I'd ever need...
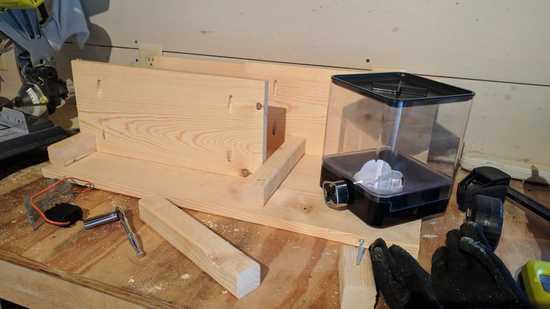
...and I was beginning to make some real progress:
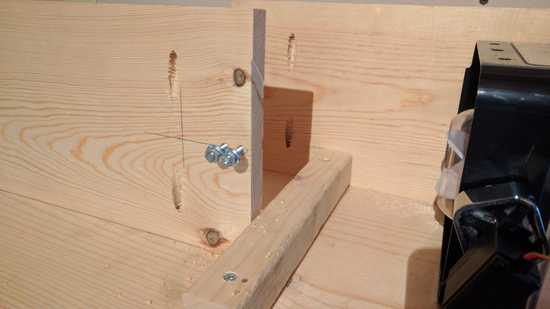
I decided to do away with the plastic base of the Zevro and mount the servo directly to the frame of the enclosure. The bonus of this was that the entire reservoir/servo would now lift out for easy cleaning!
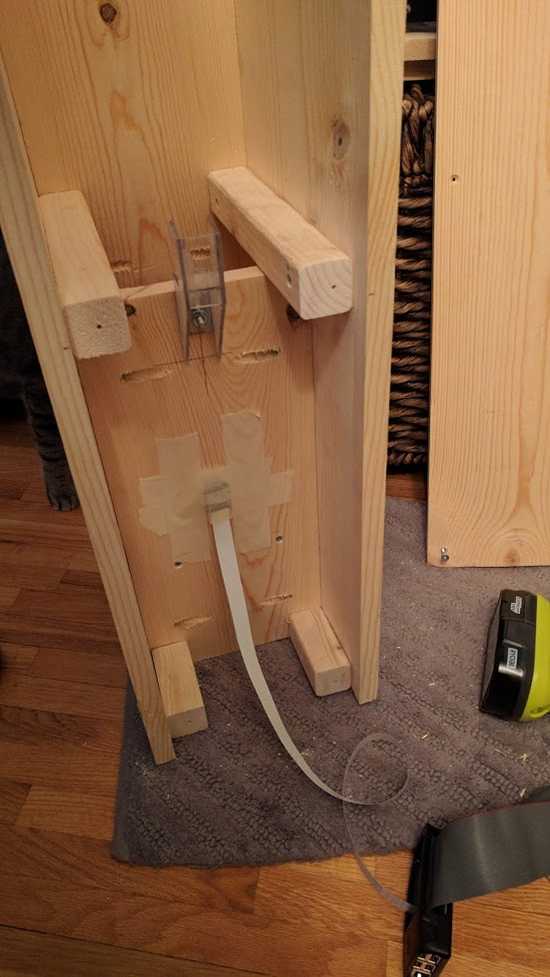
At this point, I was ready to mount the Raspberry Pi's camera to the enclosure. It would need to be located centrally and far enough back that it would be able to capture evidence of the food having dispensed. In the end, I drilled a hole in the front side of the enclosure and chiseled out a cubby for the lens to peek through:
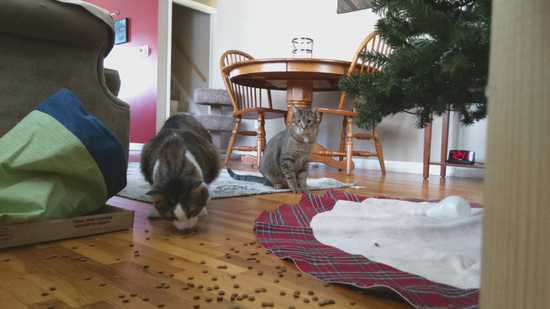
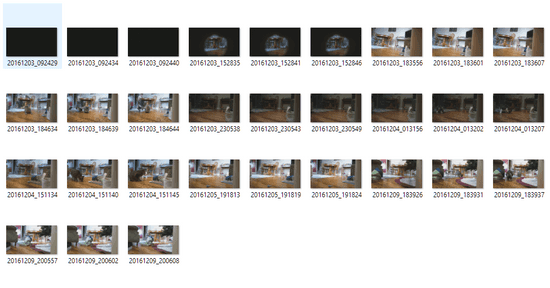
Here's an example of the camera in action:
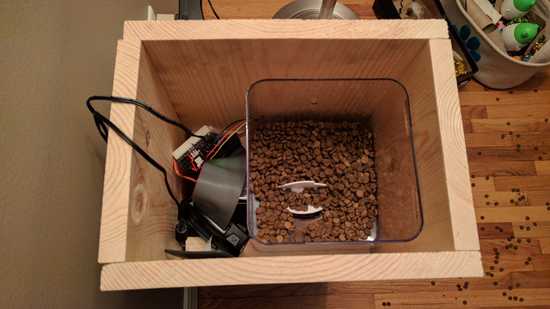
With that done, I assembled the rest of the container and installed the Pi, servo, and temporary breadboard wiring to test it out:
Final Touches
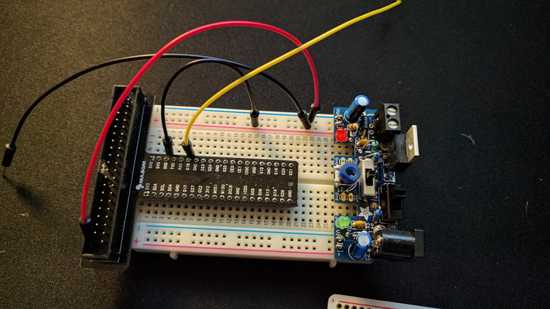
For testing, I used a breadboard and jumper wires for temporary connections:
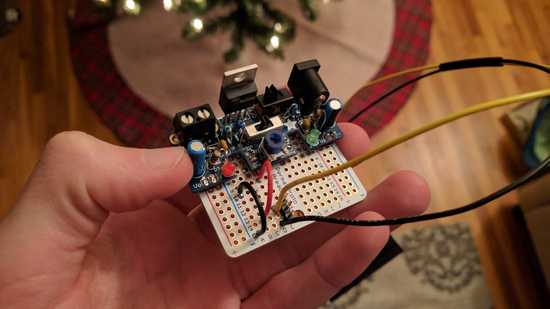
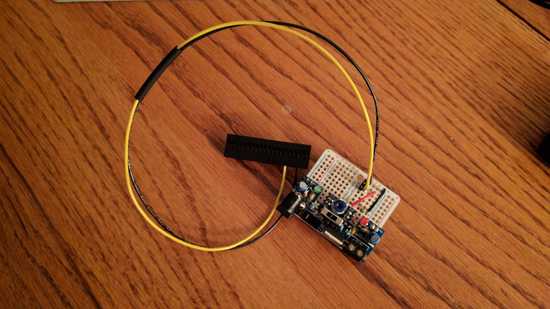
However, after proving the design was functional, I followed David's example and utilized a Adafruit 1/4 Perma-Proto Breadboard to wire up a more permanent solution:
NOTE: The Adafruit Breadboard Power Supply Kit PCB utilizes standard breadboard spacing, but the 1/4 Perma-Proto board's bordering voltage and ground channels do not line up. I ended up utilzing the PSU's inner soldering points (on either side of the potentiometer in the images above).
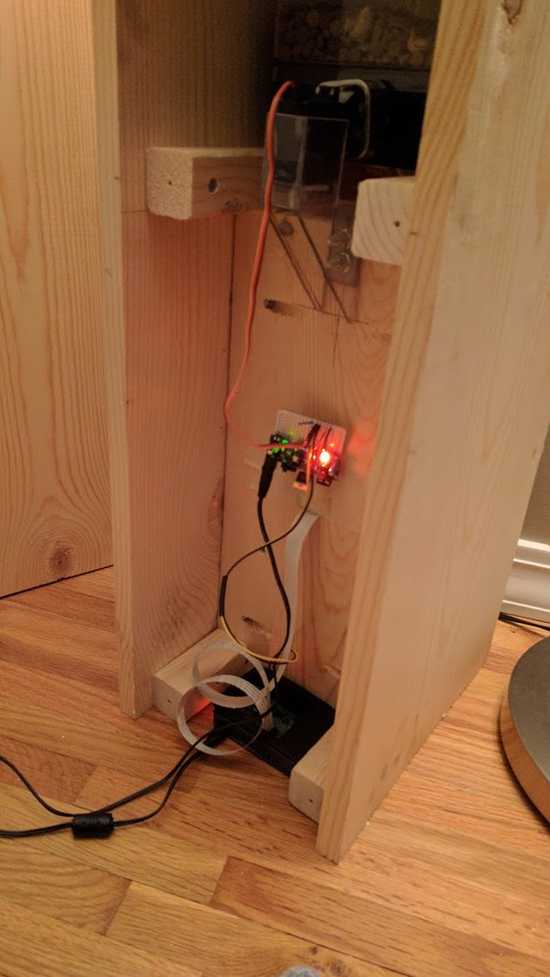
Installed everything in the back of the enclosure...
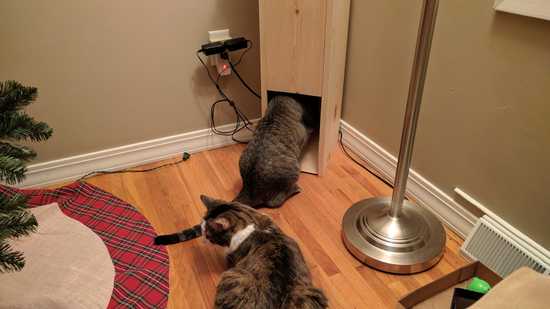
...and tested it out!
The Code
The Python scripts I'm utilizing are available on Github here, but for simplicity's sake, here's a high-level overview of the functionality:
The main.py script is set to be run on boot using systemd (see my obdPi documentation for details on setting up a daemon script in Raspbian). This script runs on a delayed cycle of ~10 minutes. Each loop, the script utilizes the Dropbox Python API to download, parse, and evaluate the contents of a JSON file (schedule.json).
Within this JSON file, I have the ability to define any number of separate events, each with the following properties:
event_timefeed_amounthas_run
If the code determines there is an unevaluated event (i.e. the event_time has passed and has_run = false), it will utilize the defined feed_amount to dispense the appropriate amount of food.
NOTE: Due to the design of the dispenser, the exact amount of food dispensed can vary, but is relatively consistent.
Once all events have been evaluated, updated (i.e. has_run = true), and the appropriate amount of food dispensed, the code then executes the command to take a series of pictures using the camera and store them locally on the Pi.
Finally, the code utilizes the Dropbox API to synchronize the Dropbox folder with any new images as well as update the schedule.json file.
Currently I am updating the JSON file manually, but am working on a Backbone.js administration page to make file management/updating much easier.
Closing Thoughts
There's tons of room for improvement, but overall I'm very happy with the results.
David's blog post was invaluable in providing the motivation/inspiration for this project, so be sure to check him out if you haven't already.
Thanks for reading!

